“Life is uncertain. Eat dessert first.” — Ernestine Ulmer
I’m just going to say it: ice cream on its own doesn’t do it for me. Call me a dessert snob (go ahead, I’ll own it), but I only tolerate it when it’s paired with something warm, gooey, and downright irresistible—like a lava cake. HOWEVER, this ice cream is a game-changer. It’s got enough personality to stand on its own, and trust me, that’s saying something.
Now, I’ll admit, I’m one of those lucky people who owns an ice cream machine. Yes, it’s random. Yes, it’s overkill. But stick with me—I’ve got freezer tips for those of you living the machine-free life (peasants). When I served this ice cream at a dinner party, my friends were floored. Like, speechless (and not just because their mouths were full). This recipe is a showstopper, and I highly recommend making it to impress your guests—or just to treat yourself like the royalty you are.
Ingredients
- 600 ml heavy cream (36-40% fat)
- 350 ml WHOLE milk (If you use skimmed milk, I will know!)
- 1 vanilla bean
- 1 pinch of salt
- 6 large egg yolks
- 200 g cane sugar
Directions
- First Things First: Okay, I’m not the realest, but let’s get real—you need to plan ahead. If you’ve got an ice cream machine, pop the bowl in the freezer at least 24 hours before your ice cream-making extravaganza. No shortcuts here; frozen bowls are non-negotiable. Also, rinse the vanilla beans briefly under cool water and pat dry. Use a knife to split the bean lengthwise, then run the back of the knife down the inside of each half to scrape out the thousands of tiny seeds (flavour and scent gold).
- In a medium pot, combine heavy cream, milk, pinch of salt, vanilla seeds and the dry and scraped bean pod. Heat it over medium heat until you see those cute little bubbles forming around the edges and some gentle steam rising—this takes about 8 minutes. Whatever you do, don’t let it boil. We’re making ice cream, not a science experiment gone wrong.
- While your cream is warming up, grab those egg yolks (yes, they’re the secret to that luscious French-style custard) and whisk them together with cane sugar. Get them nice and smooth because these two are about to meet their hot, steamy destiny.
- Once your cream mixture is steaming, it’s time to temper those yolks. Ladle a scoop of the hot mixture into the eggs slowly while whisking like your life depends on it. This is called tempering, and it keeps you from accidentally serving scrambled eggs instead of ice cream. Gradually raising the yolks’ temperature is the key to success.
- After tempering, pour the egg mixture back into the pot with the rest of the cream. Whisk it all together until it’s smooth and uniform—teamwork makes the dream work. Heat this mixture, stirring constantly, until it hits 80°C on a thermometer. This step is crucial to kill any bacteria and ensure your ice cream is safe and delicious.
Cool It Down
-
Strain & Chill: Set up an ice bath with a bowl and fine-mesh strainer. Pour the custard through the strainer to catch any rogue egg bits and the vanilla pod (no chunky surprises here). Let it cool in the ice bath until it stops steaming—about 45-60 minutes.
-
Cover the base with plastic wrap, pressing it directly onto the surface to avoid that weird skin. Chill in the fridge for 4-8 hours or overnight. The colder the base, the creamier the ice cream.
For Ice Cream Machine Owners:
Churn Time: Pour the chilled base into your machine, but don’t fill it to the brim—ice cream expands as it churns (that’s called “overrun,” if you’re feeling fancy). Churn & Check: Follow your machine’s instructions. Mine takes about 60 minutes to whip up.
No Machine? No Problem! :
Huge thanks to the kitchn for the methods- the kitchn
Method 1: Freeze & Stir
Pour the base into a shallow pan or bowl. Freeze and stir every 30 minutes for 4 hours. The Verdict: Easy, but the texture can be a bit icy. Stir more often to avoid large ice crystals. Heads up—you’ll be tethered to the freezer all afternoon.
Method 2: Food Processor
Freeze the base flat in a large zip-top bag. Once frozen, break it into chunks and toss them into a food processor. Blend until creamy, then refreeze overnight. The Verdict: Winner! Creamy, dreamy, and easy to scoop. Plus, it’s fast—less than 10 minutes to “churn.” Downsides? You’ll need a food processor, but it’s worth
The basics of these recipe were inpired by the recipe from - Homebody Eats, huge thanks and nothing but respect.
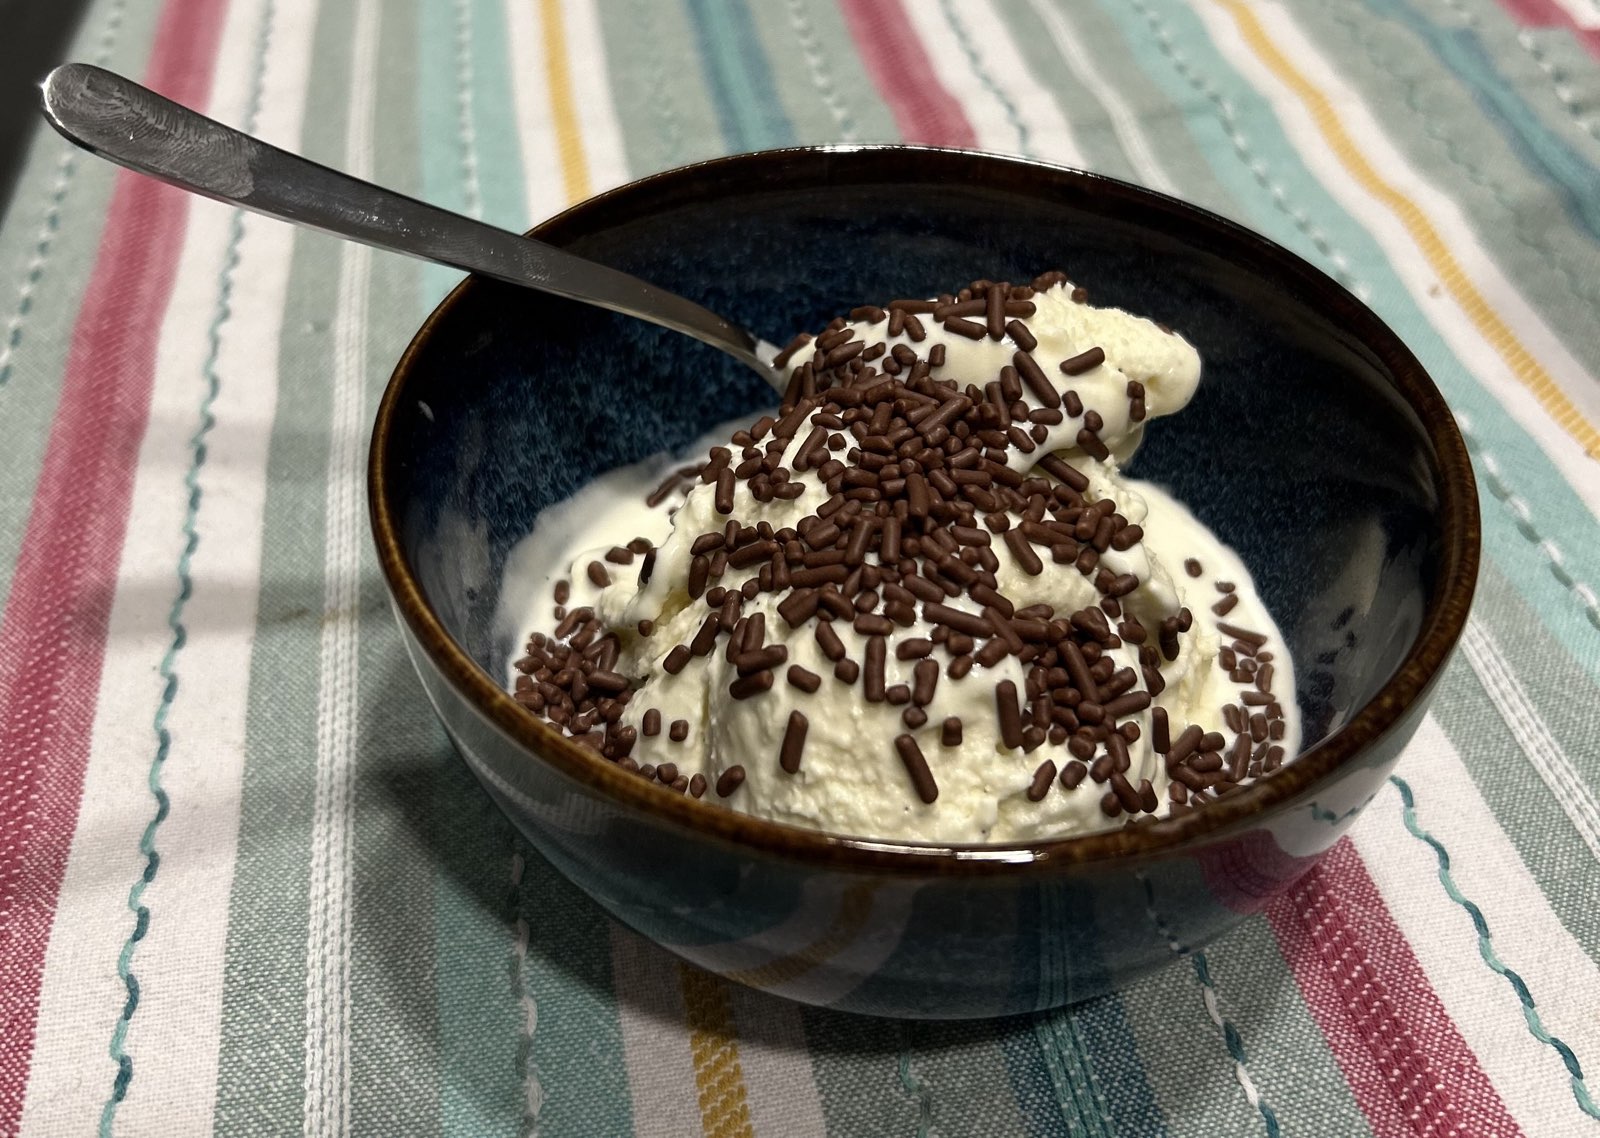
Enjoy by adding your favorite toppings (I love me some sprinkles), and good luck not devouring the entire batch (seriously, it’s a challenge). If by some miracle you have leftovers, stash them in airtight containers and pop them in the freezer—they’ll stay delicious for up to a month!
Fun Facts
Snowy owls are commonly found in the Arctic, thriving in vast, open tundra landscapes without trees. They often perch on the ground or low posts, patiently scanning their surroundings for prey. Their top menu item? Lemmings, small rodent-like creatures, though they also hunt rabbits, birds, fish, and other small critters.
While snowy owls have sharp eyesight, it’s not much help when prey is hidden beneath snow or thick vegetation. That’s when their incredible sense of hearing comes into play, allowing them to detect even the faintest movements. Unlike many other owls that are nocturnal, snowy owls are more active during the day, especially in summer, with peak activity around dawn and dusk.
Snowy owls are known to form lifelong pairs. Females typically lay between 3 and 11 eggs in ground nests. Interestingly, the number of eggs depends on food availability—more food means larger clutches, while scarcity leads to fewer eggs.- National Geographic Kids